Saturday, December 31, 2011

Making Ojalda aka Panamanian Fried Bread


so yesterday me and my family went out to just "look around"but as we all know that never really works out that well. we ended up buying a Kitchen aid mixer,(silver). ITS AMAZING! I fell in love with it. :D.  I just had to make something with it. so i did.

with my parents coming from a Panamanian background and teaching me cooking techniques from making platanos (fried bananas) to sancocho ( a type of soup), i decided to make ojaldas. :) ojaldas are plain and simple fried bread. they are crunchy and golden on the outside and chewy, moist and bread like in the center.


what you will need to make this will be -
-2 1/2 cup all purpose flour -1 teaspoon salt 
-1 tablespoon sugar 
-1 teaspoon baking powder 
-2/3 cups of milk  
-and 1/3 cups of oil 


also the equipment you will be needed is 
 - a measuring cup 
- a spoon 
- tablespoon and teaspoon measurings 
- bowl ( i used three but you can use as many as you would like) 
- a mixer ( you do not need this but the reason for me making ojalda was because of the mixer so i used it.) 


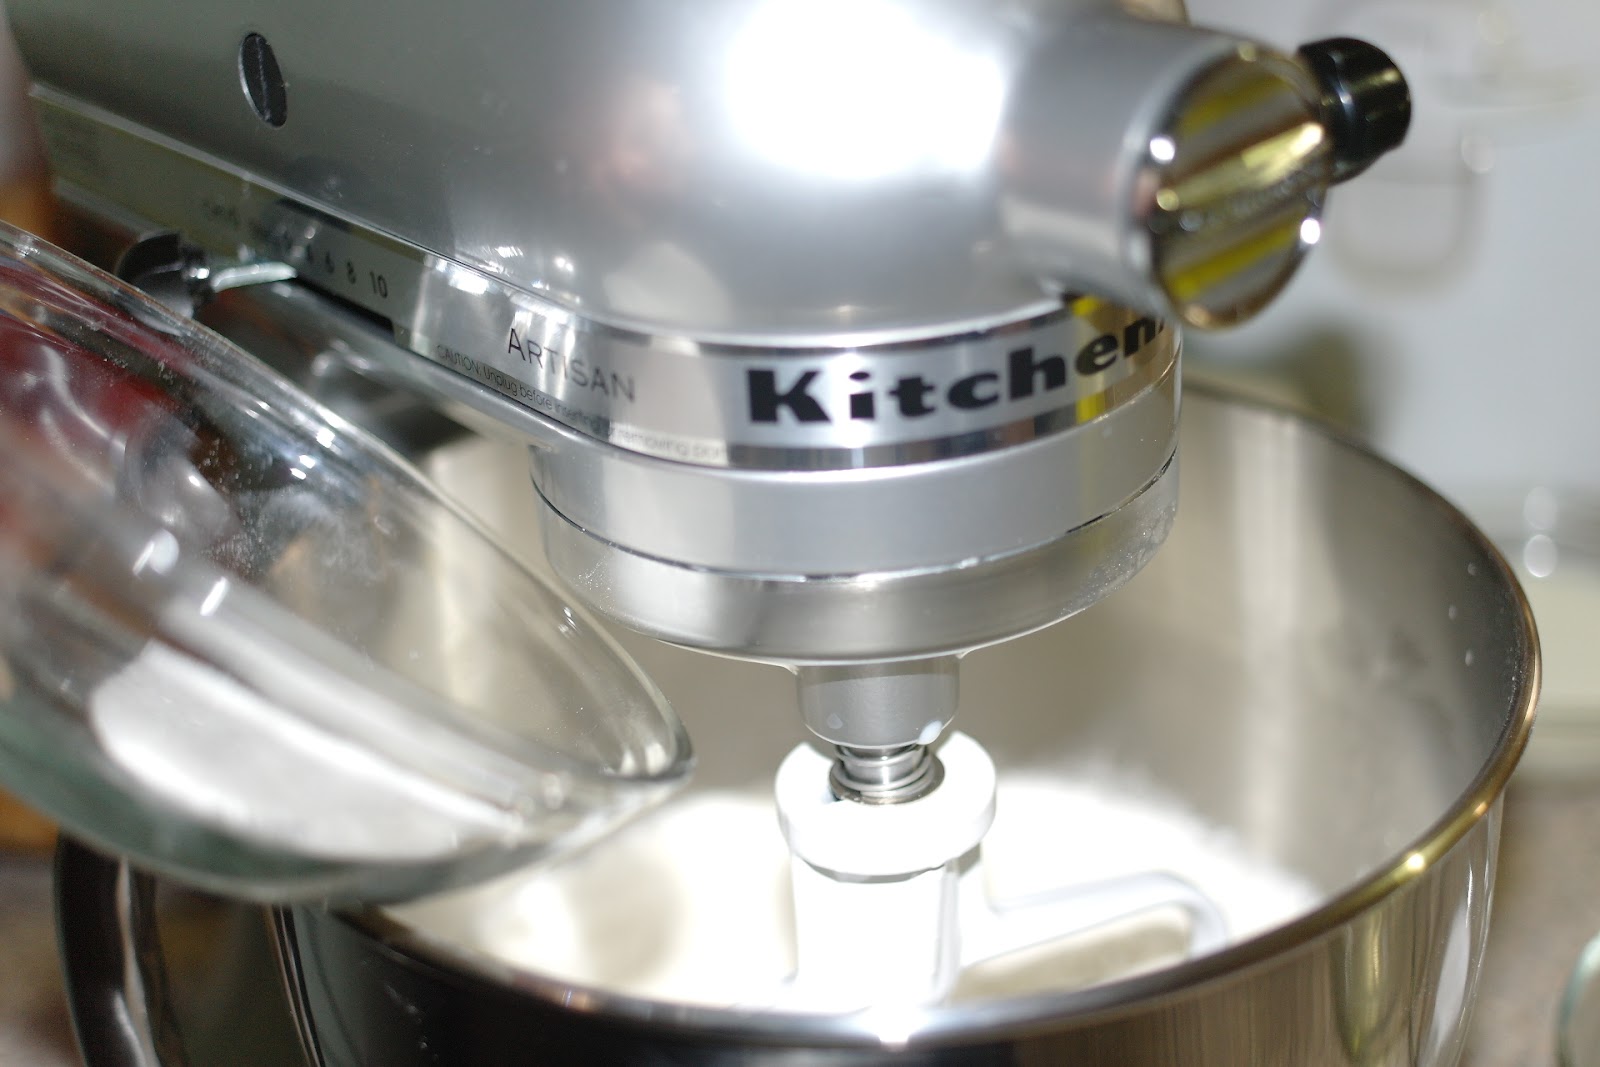
 once you have all of your ingredients you can combine the flour, salt ,sugar and baking powder. there is no need to shift anything. its an easy recipe :)

 the next step is to just add the milk and the oil. mix everything together until it forms a dough. i took this picture before i measured out the oil. the oil you see in the picture is just where i store my oil. ( picture below

 it should come out looking like this :)
 now you can kneed it for a few minutes. i try to keep it to a minimum because i lovveee to touch things. i could play with dough all day. 5 minutes would pass by like 1 sec to me.

once you are done kneading it, just let it rest for about one hour . you could washed the dirty dishes , watch your favorite soaps or just take a nap.


So after you it rest, i just use my handy little tool and cut them into little triangle. then i cut the triangle into two equal pieces and rolled them into a ball. then i rolled them out into circles with a rolling pin. (the picture got deleted sorry guys!)


so start to heat up your oil. i just choose a small pan where i didnt have to fill it all the up to the top but still cover up an ojalda. i have no clue what the temp. was but aslong as it bubbles up when you drop it in is when you know it it is perfect. 

start to drop the ojalda into the hot oil. you should not leave them unattended because they do cook up pretty quick. 

when you start to notice that the bottom layer is starting to get cooked just turn them over and cook the other side. they should not take long.


this is what they are supposed to look like when they are done. aren't they pretty? :D they were delicious too 


i ate them for lunch served with beef, onions and green bell peppers and beans. its not a really tradiotional meal but it was pretty darn good. 


Friday, December 30, 2011

making cake pops!

so i finally got all the stuff for my cake pops! they aren't really that fancy but they sure do taste great. i just started working with my camera and this is the first time i had ever my cake pops, so there are a few missing pictures ( i got sidetracked with looking at cake pops and completely forgot to take picture, my bad guys)  and few steps missing but i guess i made it work. i also apologize for the qualities of the picture. i had to take a picture of a picture, but i hope you like it. :D

so lets get started!

you will need a cake mix- ( any kind you would like but i choose moist supreme devils food.)
a can of frosting- chocolate to match the cake :)
blue candy melts
and bamboo lollipop stick- i would have gotten the paper ones but Micheals was out of them so i got these and if you do get the paper one they will soak up the oil and it will be visible in the stick.
i opened up the cake box and followed the instructions on the box. you know the usual 3 eggs, 1 1/4 of water and 1/2 cup of oil


pour into a the largest pan ( greased first) so that it will cool faster and you wont have to wait forever.
then follow the baking instructions on the back.

cut into pieces about the same as your two of your hands put together, so that when you crumble them you are able to rub the two pieces together to get the crumbs.

then add the frosting that you choose :). you just add i large dollop, or 1/3 of the can.  BUT NEVER EVER EVER ADD THE ENTIRE THING!

then just stir until it is all combined. you will know when it is done when the mixture starts to stick and form the shape of your spoon.


roll a ball about the size of your quarter. i got up to 30 cake balls.  then throw them into the freezer for about 15 minutes or until they chill. i left them there for the same amount of time that it took for me to melt the chocolate


i put the chocolates in the microwave for 1 minute and then stir it until everything melted. ( this is where i started forgeting to take pictures) 

then with the melted chocolate dip the stick first, just the tip( half an inch) is fine. then stick it into the ball, less than half way and let them sit and harden. 

once they are cooled take it and dip the whole thing in the chocolate.


 these are some of the finished products. i did a few of them that where fully covered and i liked them but after a while i saw some oil dripping out and it was totally unappetizing, so i decided to cover up almost the whole cake but left a little uncovered so some air could go into it. i found it way better. plus I'm not selling them or anything so they could be ugly. 


 stay tuned to my blog. my next project, i promise , will be way better than this one.
HAVE A HAPPY NEW YEAR!! :D 


Tuesday, December 27, 2011

so i found out that i wont be able to blog yet since i dont have the all things i need to start my first project but fear not., i will be able to start some time this week. :)